
Creating a virtual disk that will automatically encrypt all data that you paced on it. The disk can be created both on your own device and in the cloud (Google Drive, iCloud…), where you can share data with other Talkey users.
Creating a new disk
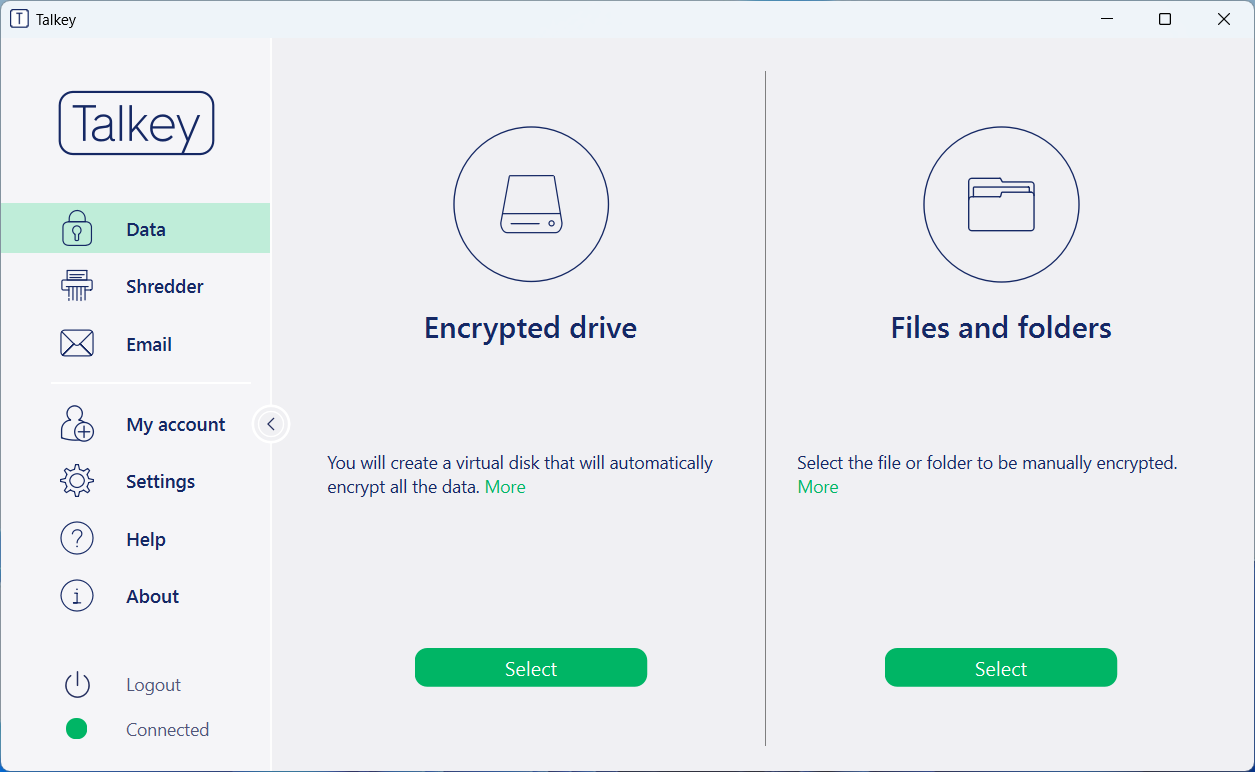
Open the Talkey application and select the Data tab, and click Encrypted dirive.

After clicking on the “+” icon a window will open allowing you to complete basic data.
A window will open to complete basic data.
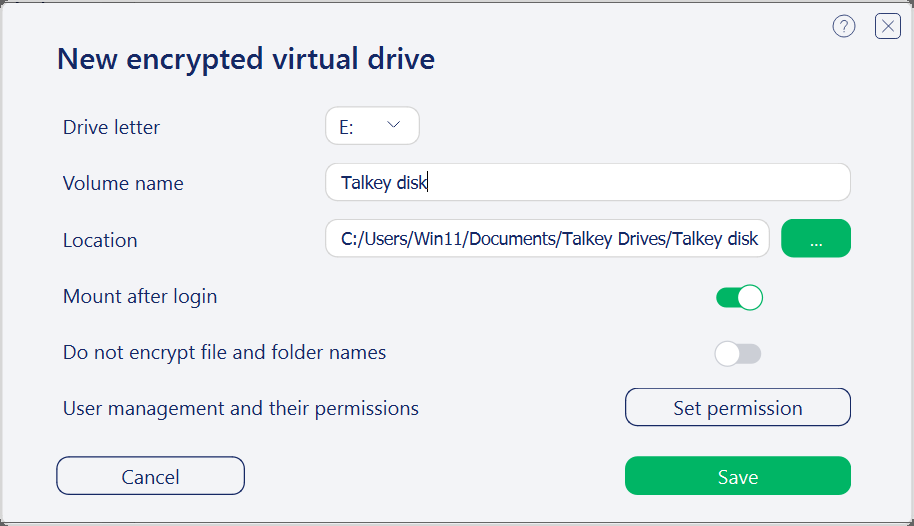
- Volume name – this name will be displayed after connecting the disk to the system.
- Location – this is the path where the encrypted data will be stored.
- Mount after login – this option specifies whether the disk should be mounted automatically after login.
- Do not encrypt file and folder names – this option determines whether the data in the source folder will have its original name or will be encrypted.
- User management and their permitssions – here you define the permissions of individual users who can access the disk and who can only read data. If you leave the default setting, only the creator of the drive will have access to the encrypted data.
- Administrators – only this group can define individual users to what list they will be assigned, and this group has full access to the disk.
- Full access – in this list users can add/modify/delete all the data on the disk.
- Read only – these users can only read data from the disk, but cannot modify or delete it in any way.
- Send email notification to new users – when new users are added, they can be notified about access to the disk and where to find it (e.g. if it is in the cloud, it will be a path where the disk is located).
- To create an encrypted drive, we save the settings.
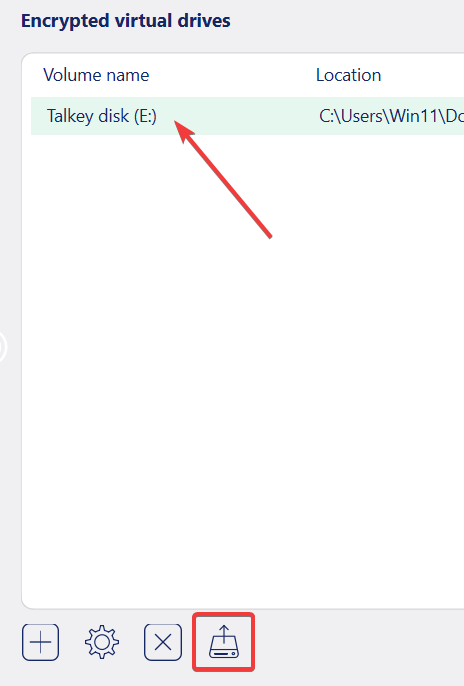
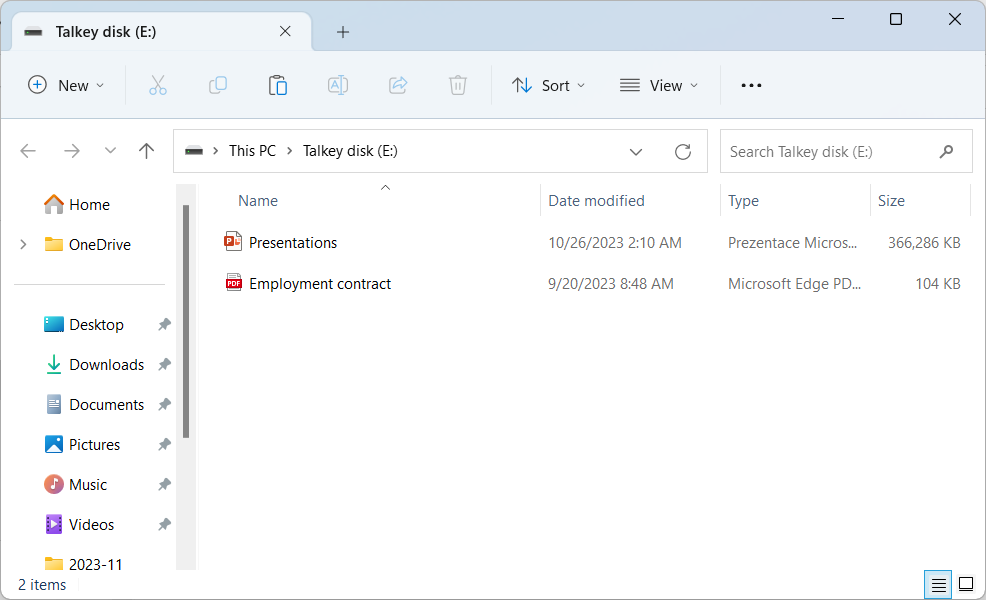
Once saved, the drive will be mounted and will look like a connected USB flash drive. We can then insert and edit files/folders in it as we are used to and they are immediately encrypted.
The source data where the disk is stored looks like this:
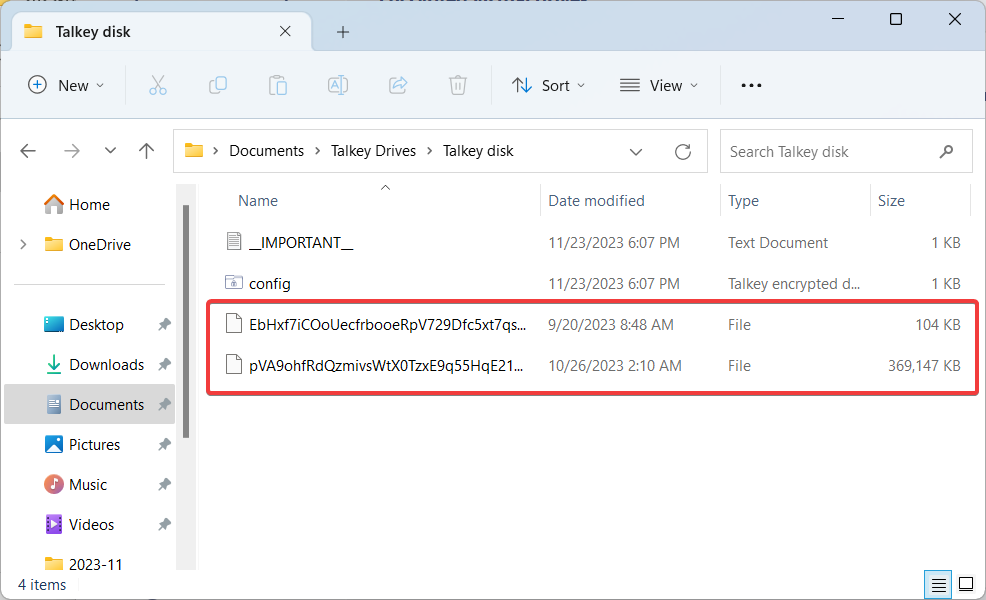
If we want to share the disk, it is necessary that other users have access to the source data, otherwise they will not be able to connect the disk. An example is a group of people who have access to a shared company drive, to the specific folder, the source data will be stored here, and all users with access will be able to connect the drive.
Connecting to an existing disk
- Similar to creating, click the “+” icon.
- Then select the location of the source data folder
- Confirm by saving